Planning an event can be tedious, right? You want everything to be perfect, especially those memorable moments.
But…
You don’t want to spend a fortune, and you still want an everlasting memory.
That’s where a DIY photo booth comes in!
It’s a fun way to entertain your guests and create lasting memories. Imagine their smiles as they snap photos with quirky props and beautiful backdrops.
Don’t worry if you’re not a pro; our guide will walk you through each step so you can make your next wedding or event unforgettable!
PREMIUM PHOTO BOOTH EXPERIENCES

How to create a DIY photo booth?
Step 1: Gather the photo booth material.
Creating the perfect photo booth setup is simple! You just need to be creative, and you will come up with low-budget event-planning ideas that look expensive and chic.
Here is a list of the equipment you will need for this photo booth:
- PVC Piping: Purchase 1-inch PVC piping for the backdrop frame.
- Connectors: Get right-angle and T-shaped connectors for the frame.
- PVC Pipe Cutter: This will help you cut the pipes to the required lengths.
- Fabric: Choose a stretchy, wrinkle-resistant fabric. Opt for neutral colors that complement your event theme.
- Sewing Supplies: Have a sewing machine and a stretch needle ready to hem the fabric.
Step 2: Cut the PVC Pipes.
Start by measuring and cutting your PVC pipes: two 7-foot pieces for height, two 6-foot pieces for width, and four 1.5-foot pieces for the legs.
Use a PVC pipe cutter. It’s a clean, hassle-free cut; it’s faster and leaves smooth edges. When assembling, connect the legs with T-shaped connectors to ensure stability.
Pro tip: If you’re setting this up outdoors, fill the pipes with sand or add weights at the base to keep the frame sturdy in windy conditions.
Step 3: Prepare the Backdrop.
Here’s how to quickly achieve that stunning backdrop: Head to your local fabric store. You will want a stretchy, wrinkle-resistant fabric such as polyester or spandex blends.
The choice of fabric depends on whether you want the backdrop for a wedding, a tradeshow, or a product launch.
- Velvet or muslin creates a soft, luxurious feel, perfect for romantic wedding portraits. Velvet absorbs light beautifully, minimizing glare, while muslin offers soft textures for dreamy, classic shots. These fabrics also drape naturally, adding depth to photos.
- Vinyl Backdrops are ideal for themed weddings or photo booths. They come in stunning patterns, are easy to clean, and remain crease-free, ensuring a polished look throughout the event.
Explore more about making your event theme come alive through photo booths.
Here are three top fabric stores from Los Angeles that you can consider for weddings and events:
M & L Fabrics-Discount Store offers a great selection of discounted fabrics at affordable prices, ideal for experimenting with various textures and colors. These materials are perfect for DIY wedding projects, VIP events, gala dinners, and even formal parties.
LA Fabric Imports is known for an impressive selection of high-end fabrics at affordable prices. They provide fancy, low-cost materials, excellent for creating elegant wedding backdrops and decor while staying budget-friendly.
They specialize in unique pieces that add flair to weddings. Their fabric is perfect for custom decorations or bridal party accents.
They have stylish, high-quality options ideal for birthday parties, engagement parties, baby showers, weddings, or even formal events such as corporate events, product launches, and high-end exhibitions.
Choosing the color of the backdrop:
Look for neutral shades like gold, silver, or champagne. They work with any wedding theme. Layering fabric is a fantastic way to create an eye-catching, luxurious backdrop with extra depth and elegance.
Here’s how you can pull off that stunning layered effect:
Base Layer:
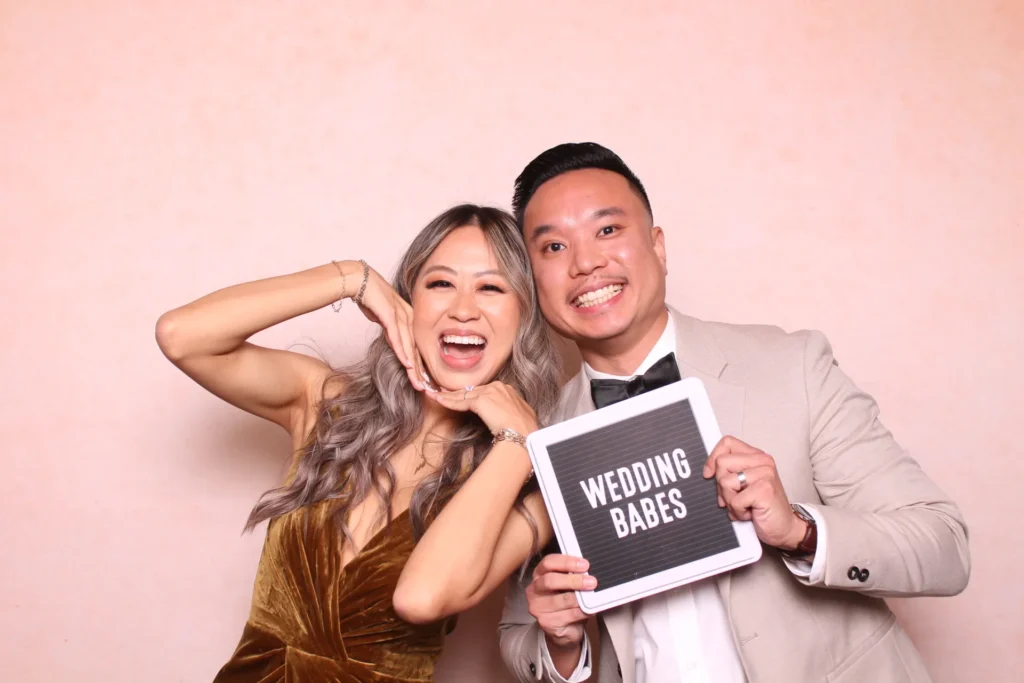
Start with a solid neutral fabric (like white, champagne, or blush muslin) as your foundation. This ensures the backdrop feels soft and elegant.
Look how chic and elegant this baby pink backdrop looks:

But to make it fun and exciting, sequins add a whole new dimension to your backdrops. You can choose from gold, black, or silver sequins. You can even mash up two colors, white and gold sequins, to make an even more elite look!
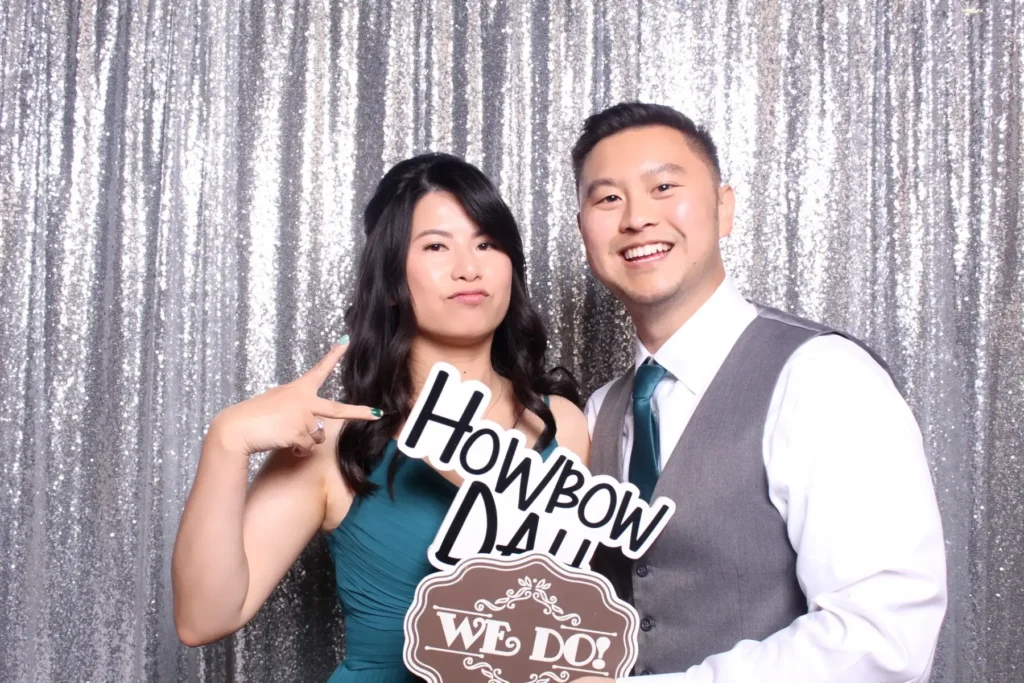
Top Layer:
Drape sheer netting or tulle over the base. This adds dimension. The netting catches light subtly, making it perfect for wedding photography.
We have used a gold and silver glittery, metallic organza layer on top for extra flair. It reflects ambient lighting, adding a soft shimmer that looks amazing in daytime and evening wedding photos, nightclub events, VIP parties, and corporate dinners.
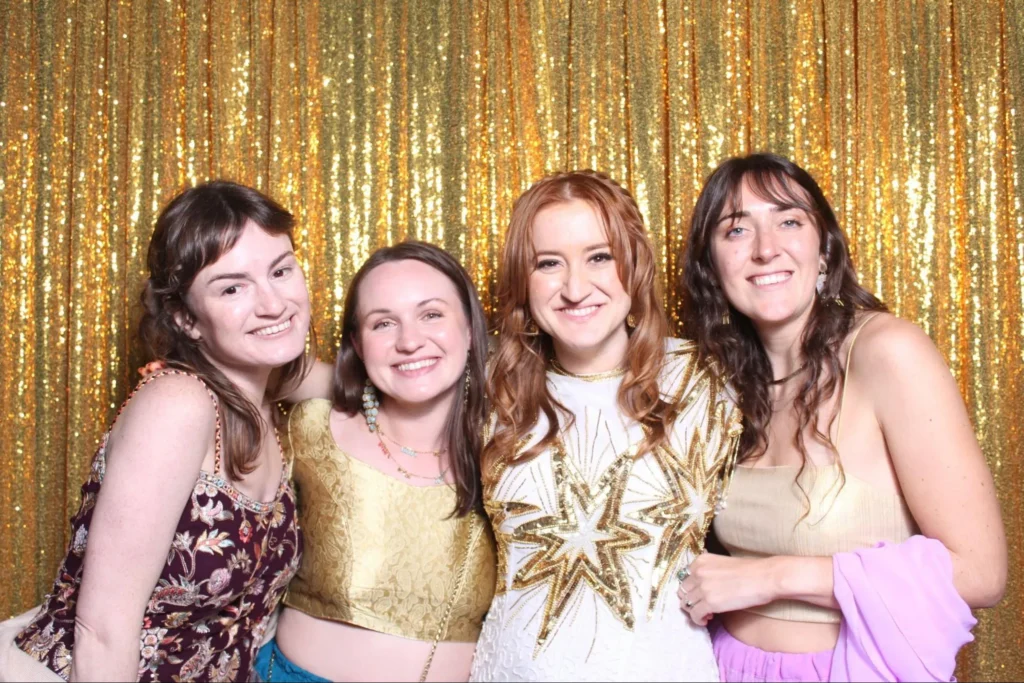
Check out how stunning this backdrop looks! A yellow glittery organza base, beautifully layered with an orangish-yellow net curtain on top, creates the perfect shimmer and texture blend.
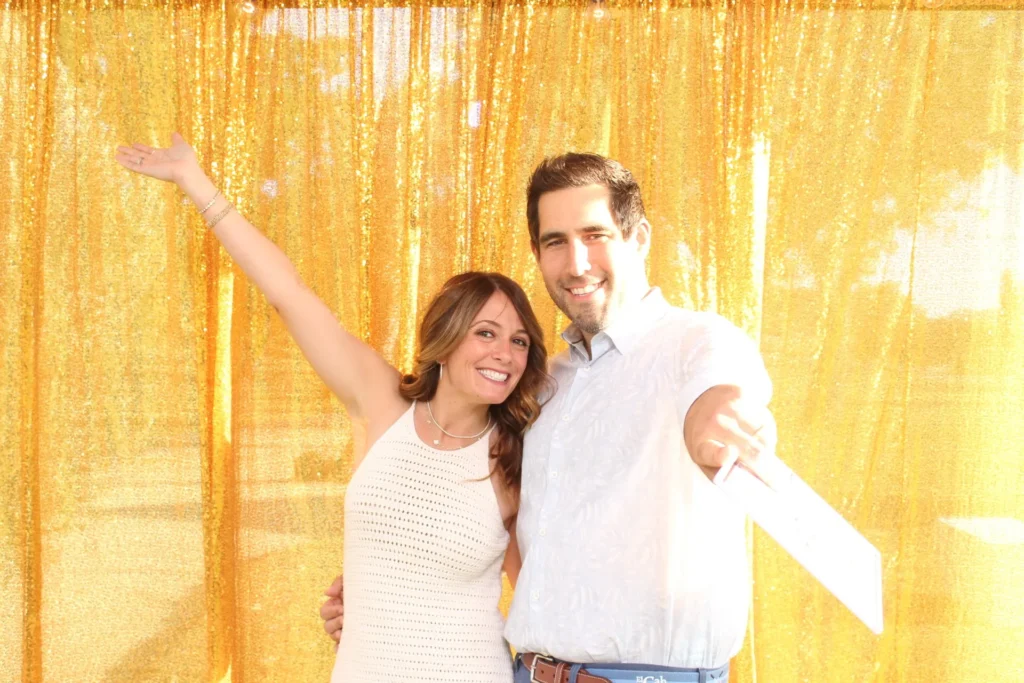
Pro Tip: Use fairy lights or LED strips behind the net layer to create a magical glowing effect that enhances the fabric’s shimmer. This technique works great for wedding photo booths, ceremony backdrops, or reception décor!
The choice of a backdrop can significantly enhance where you want to DIY this photo booth for. We have researched some of the coolest backdrop options and where they can be used:
| Backdrop | Where It Can Be Used |
|---|---|
| White Paper Flowers | Weddings, bridal showers, baby showers |
| Gold Geometric | Corporate events, modern weddings, art exhibitions |
| Roses printed backdrop | Romantic weddings, engagement parties, Valentine’s events |
| Flower Wall Print | Garden parties, baby showers, outdoor weddings |
| Hearts | Valentine’s events, weddings, engagements |
| Classic White | Conferences, seminars, photo headshots |
| Marble | Corporate events, product launches, high-end exhibitions |
| Brick Wall | Industrial-themed events, casual parties, Formal galas, weddings, elegant dinners |
| Pink Damask | Baby showers, weddings, romantic events |
| White Brick Wall Flowers | Garden parties, bridal showers, outdoor weddings |
Sewing your backdrop:
Cut your fabric, measuring twice to ensure it’s twice the height of your frame, which also accounts for two flowing panels. Use a zig-zag stitch for flexible hems on your edges. Do you lack a sewing machine? Use fabric glue or iron-on hem tape for no-sew instead.
You’ll also want to add extra length to your fabric for draping or swagging. If your event is outdoors, add weighted hems. Fishing sinkers are terrific for inhibiting the tendency of things to look sloppy.
Clip your fabric to the frame with binder clips or curtain rings. This will let you make on-the-fly adjustments if things start to wrinkle; you can fix a handheld steamer to smooth the wrinkles. With metallic tones, adding LED strip lights behind the fabric gives off a magical glow.
Step 4: Set Up the Backdrop.
Now that you have everything, take your PVC pipe and cut it up. The frame requires two 7-foot pieces up, and two 6-foot pieces across, and the legs will require four 1.5-foot pieces.
Here’s a nice trick: reduce one foot from the bottom of each 7-foot piece to fit the legs. PVC is easy to cut with a handsaw or pipe cutter, and it won’t hurt a bit.
Now that your pipes are ready, put together the frame. PVC pipes are light and, therefore, straightforward to handle and erect.
Cut it to the size you want and add extra to the edges for sewing on a hem.
Create a guideline with a piece of PVC pipe pinned along the edges of your fabric to line it up more quickly. Pin in place and sew your fabric with a stretch needle and a walking foot.
The walking foot helps move the material along without bunching it up. A zigzag stitch will offer excellent durability and allow flexibility without ripping.
Once the two panels have been sewn, slide them on the PVC frame. With that fabulous finish, a second pair of hands will be handy to get the fabric across the frame evenly and smoothly.
Accessorize your backdrop:

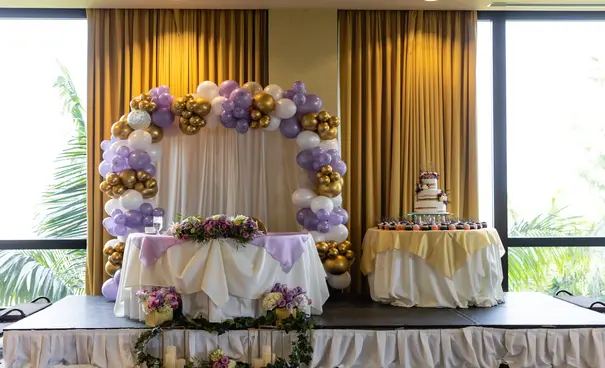
Add those last finishing touches by draping sheer fabric over satin for that dimension depth or by adding fairy lights, garlands, or flowers to fill in imperfections. Look how simply adding balloons in the background has enhanced the picture threefold.
And guess what? Set up doesn’t have to be the stress some folks make it out to be. A little prep work can go a long way toward creating a photo-worthy backdrop that’s stylish and sturdy.
Step 5: Find Props.
Choosing the best props for DIY photo booths is critical. To entertain guests, consider hats, signs, silly glasses, or thought bubbles. These essential accessories help people loosen up and enjoy their photos.
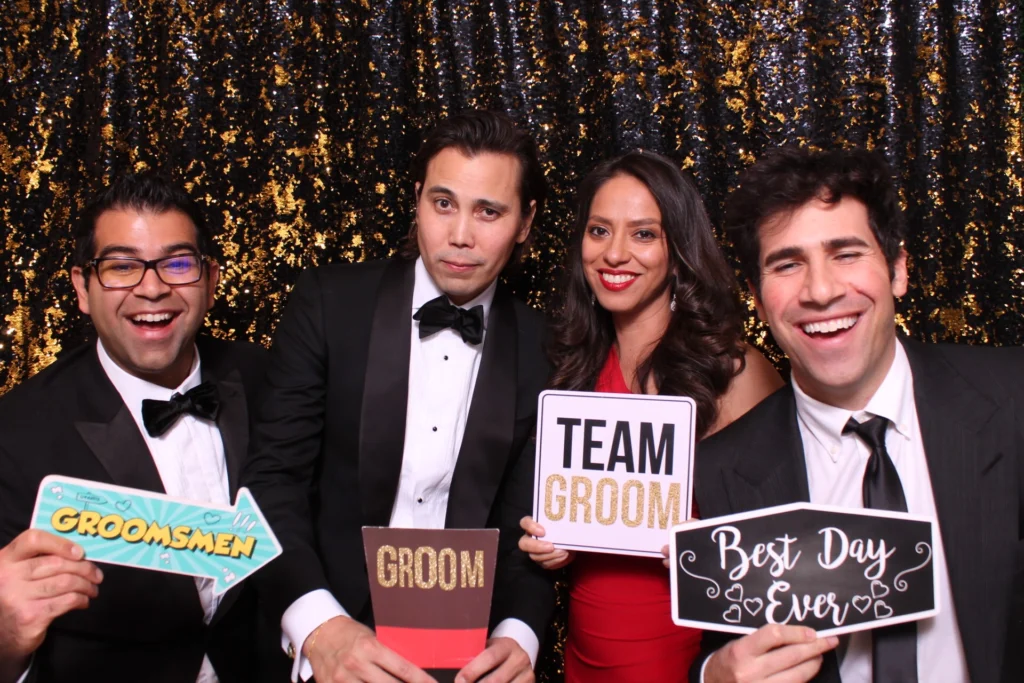
Visit thrift stores or dollar stores a few weeks before the wedding to find unique items. Last-minute DIY? No problem—props like signs or thought bubbles can be quickly made with poster boards and dowels the night before.
Display props in an open basket or decorate a prop table near the photo booth for easy access. Just cover the table with a solid-colored cloth.
Pro tip: Personalize your DIY props with glitter, metallic pens, or stickers to match your wedding theme!
You can also DIY props using poster boards and dowels for signs or thought bubbles.
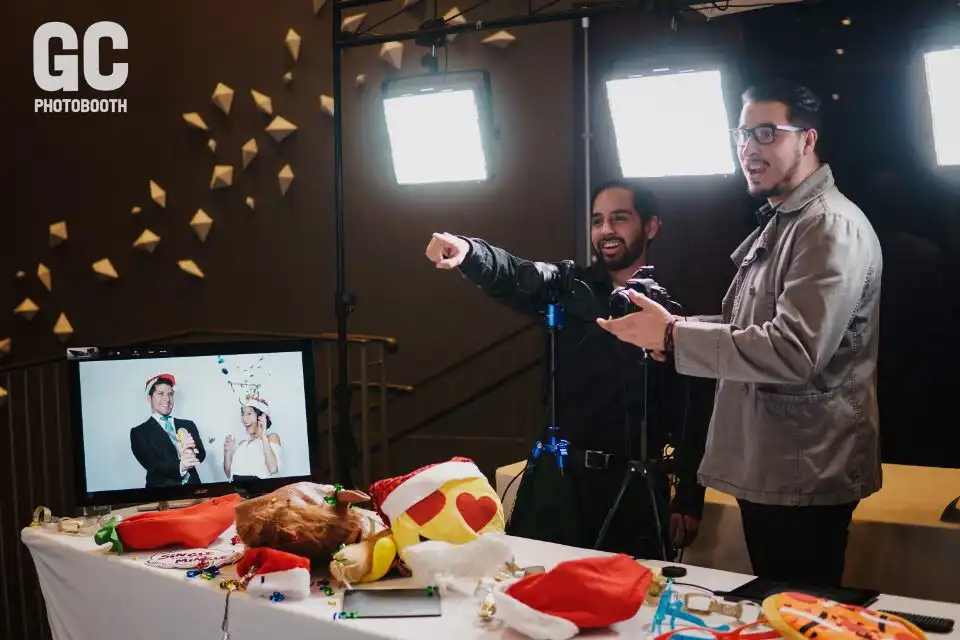
Step 6: Set Up the Photo Booth.
With your backdrop and props ready, it’s time to assemble and set up the photo booth. We will walk you through a hassle-free setup that only needs a ring light, tripod, iPad, and iPad mount—making it easy for guests to use on their own, no manager required.
- Best ring light for diy photobooth setup:
| Product Name | Key Features |
|---|---|
| Neewer 18” Ring Light with Stand | Adjustable brightness, color temperature, sturdy tripod stand |
| Emart 18” Ring Light with Tripod Stand | Affordable, good lighting quality, easy to set up |
| UBeesize 18” Ring Light with Tripod Stand | Versatile features, adjustable brightness, color temperature, phone holder |
Adjust the Ring Light for Flawless Lighting:
Lighting techniques for a DIY photo booth are crucial for stunning photos. Use a ring light for soft, flattering lighting, or experiment with LED strips to add drama to your shots. Remember the booth’s location—indoor setups need consistent lighting, while outdoor ones may require diffusers to control sunlight.
Place the ring light above or behind the iPad to avoid glare in the photos. Adjust the brightness to create a soft, flattering glow—great for everyone’s selfies!
Pro tip: If your event is outdoors, consider using a diffuser on the light to soften harsh sunlight or shadows.
- The best iPad for diy photobooth setup:
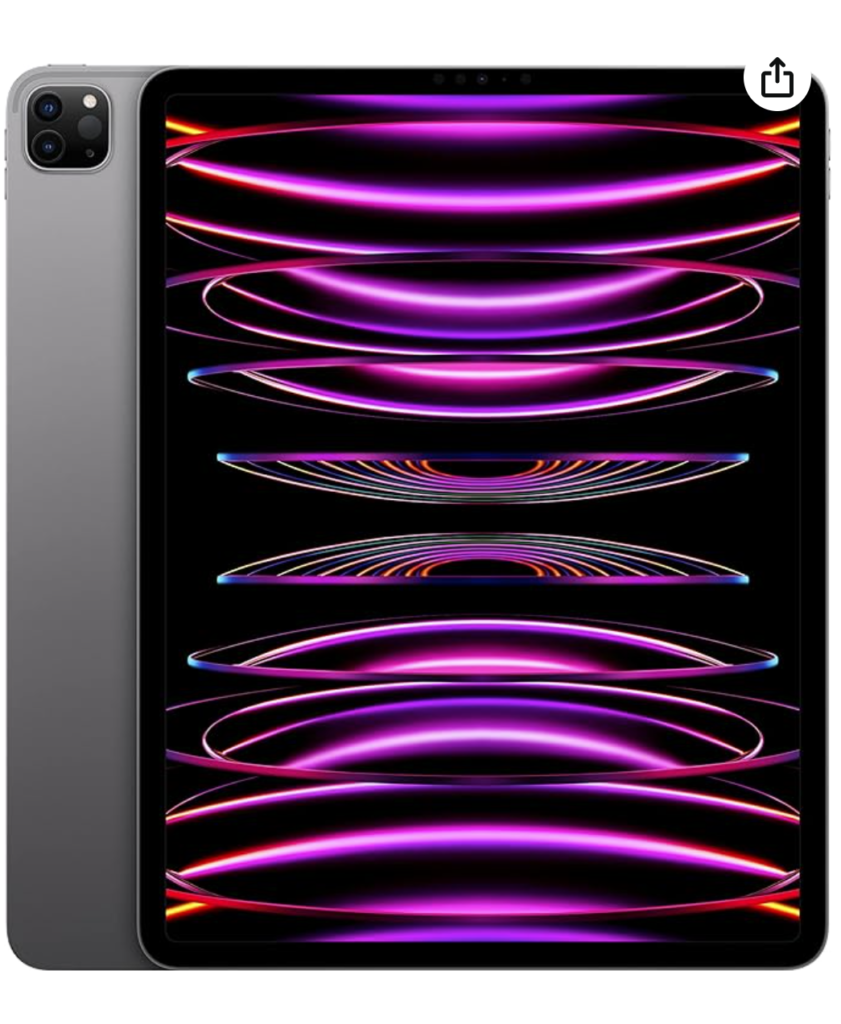
The larger the screen, like the iPad Pro 12.9-inch, the better user experience it would provide. A higher-quality front-facing camera can help you take better photos.
An iPad with cellular data can provide reliable internet connectivity at events. Make sure the iPad model you choose fits your photo booth shell or enclosure.
Secure the iPad and Mount Properly:
Make sure the iPad is locked on the mount. Angle it slightly downward to capture guests from their best angle—hello, flattering selfies!
Run a Test Shot:
Always take test photos to check framing, focus, and lighting. Make any tweaks before the guests arrive so the booth is picture-perfect.
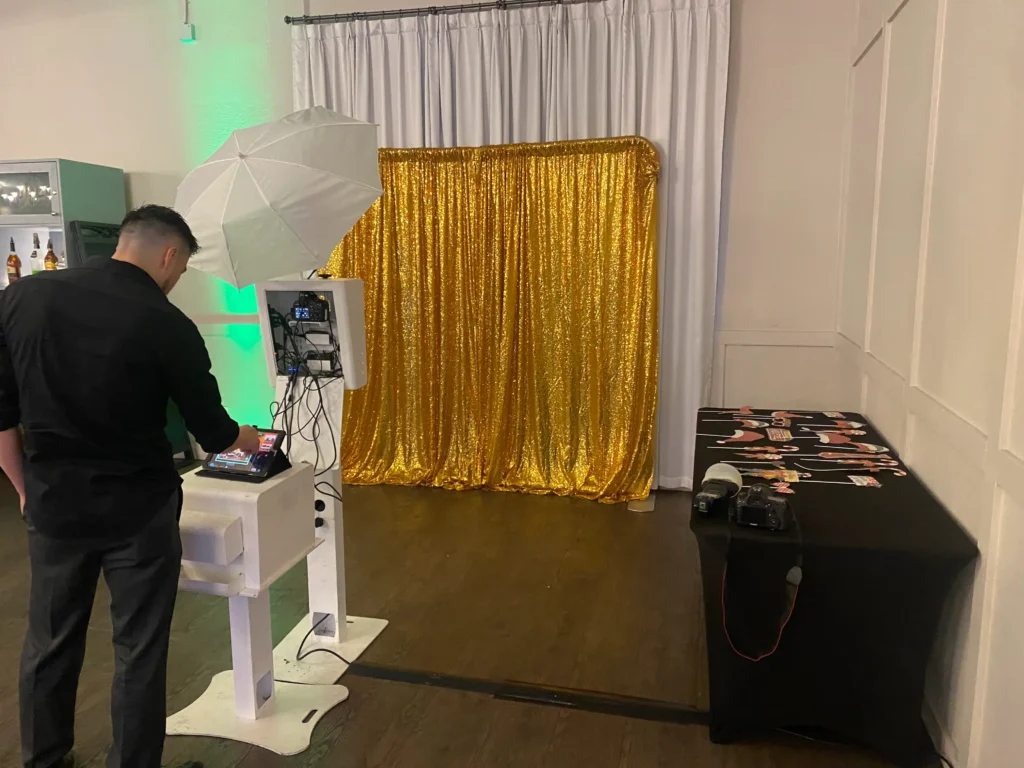
This setup ensures guests can snap pictures effortlessly while keeping the vibe fun and safe. Now, you can focus on enjoying the event while your photo booth works magic!
For safety, tape down any extension cords to avoid trips or accidents during the fun. Once everything’s secure, invite your guests to strike a pose and have a blast!
Step 7: How to Take Perfect Photos with Your DIY Photo Booth.
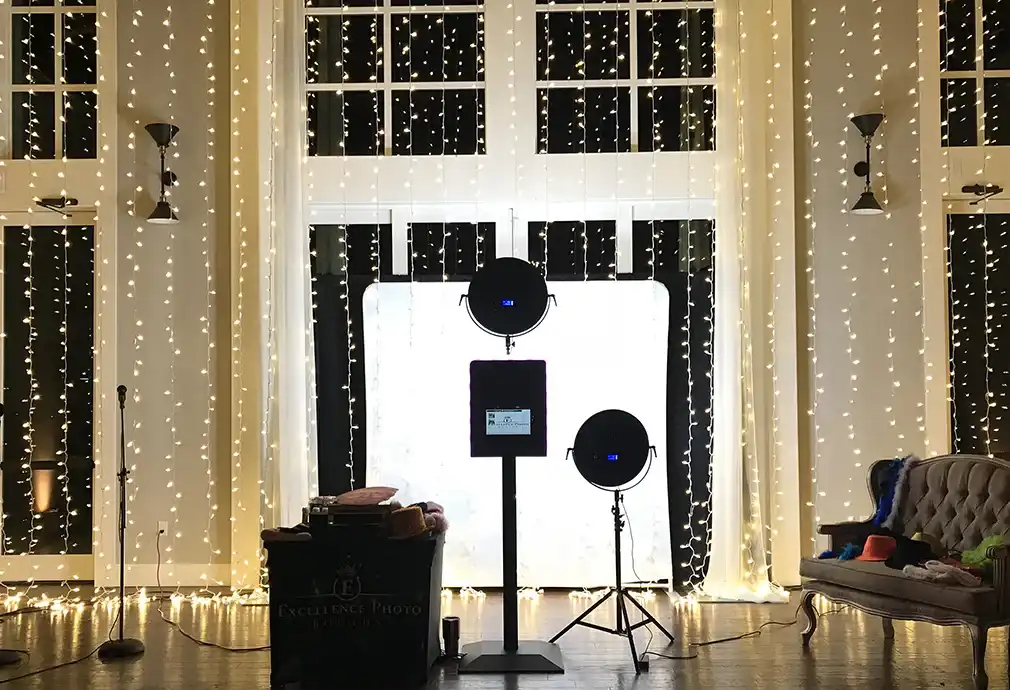
Getting your photo booth set up just right makes all the difference! Position the tripod at an optimal distance from the backdrop so the scene fits perfectly in the frame. Attach the iPad to the mount and adjust the ring light to ensure everyone looks their best.
Want to add an interactive element? Set up an iPad and portable printer near a DIY backdrop where guests can print their photos and stick them on a memory wall. It’s a creative way to keep the fun going and doubles as instant decor!
With the app and your backdrop working harmoniously, your guests can capture memories effortlessly and share them with a tap.
Good planning ensures smooth sailing, but unexpected issues happen. Having solutions ready for troubleshooting common photo booth problems—like app crashes, low battery, or crooked backdrops—will save you stress.
Related Insights:
- Make Your Next Event Unforgettable with 360 Events Photo Booth.
- Best Camera Settings for the Perfect Photo Booth: Expert Tips.
- Photographers Guide to Successful Vendor Booth: Winning Tips.
- Corporate photo booth trends of 2024.
- Photo Booth Ideas for Conferences and Trade Shows.
Is a DIY photo booth setup worth the effort?
A DIY photo booth is exciting, but it can be challenging to manage lighting, find budget-friendly props, troubleshoot technical issues, and complete the time-consuming assembly.
All these issues can cause significant stress when handling wedding events or other major occasions. If you want to avoid the hassle and let everything run smoothly, opting for a professional photo booth rental is better.
With a ready-to-use setup and seamless service, you can be left to enjoy the event while your guests effortlessly shoot unforgettable memories.
Professional photo booth rentals remove the hassle by providing everything you need, including free themed backdrops, QR codes for easy photo access, and instant picture sharing via email or social media.
With a variety of options, such as immersive 360-degree booths, mobile roaming setups, and private video confessional booths, you can elevate your event and create unforgettable moments without lifting a finger!
DREAM WEDDINGS BROUGHT TO LIFE
GC Event Studio crafts weddings that feel as unique as your love story. From the first detail to the final moment, we blend creativity and precision to design celebrations filled with elegance, joy, and unforgettable memories.
Conclusion:
So, there you have it! Setting up a DIY photo booth doesn’t have to be stressful. We know —event planning comes with a million little things to manage. But creating the perfect DIY photo booth is easier than you think!
Start by choosing a fun DIY photo booth backdrop that matches your theme, and explore creative photo booth ideas to make it unique. If you’re wondering how to make a photo booth for a party, try adding a custom booth frame for guests to hold.
With this setup, you’ll keep your guests entertained and create memories long after the event ends!
Contact us today to make your event unforgettable. We offer hassle-free photo booth rental and event services across California and throughout the USA, complete with complimentary backdrops and instant photo sharing capabilities

